I posted recently about a new tool and I have been so busy working with my customer on her big custom order I have not had a chance to get back on and post but I wanted to do this post before we start working on the next project !!
Here is what we just finished up, the first of three beautiful beaded tassels my customer ordered for closet doors in her room. She picked out and ordered and sent to me all the charms used in these projects and they are stunning. I supplied most of the regular beads, but she has sent some special ones and a string or two to me as well.
Because we are working long distance I trayed the beads we had to work with and numbered them, so she lets me know which ones to pull for each project and which special beads to put in each and actually lets me know per dangle what she wants and then I fill it in with the pool of beads she has selected. It is a huge help and it does takes time to set up, but it is so worth it to have it all planned out for each project. It makes my job so much easier as I know the beads I am using are what she wants. I still decide where to put what, but she lets me know for each dangle what she wants for sure and then I fill it in with other beads from her list. Then we go back and forth in emails fine tuning it until we have the finished piece !!
So, here is our first finished tassel, and then on to my tools !!
this was the finished dangles,
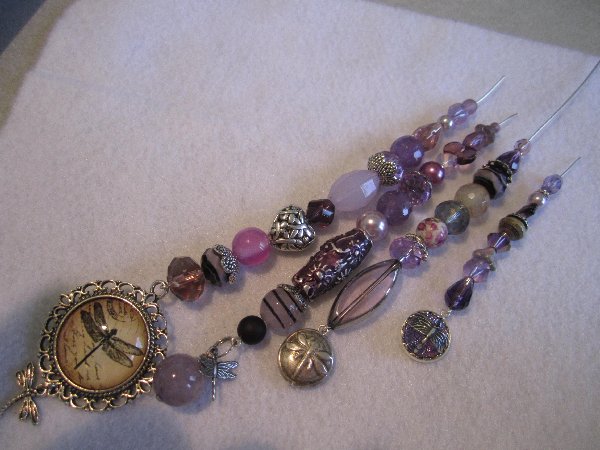
Here is the put together piece !!


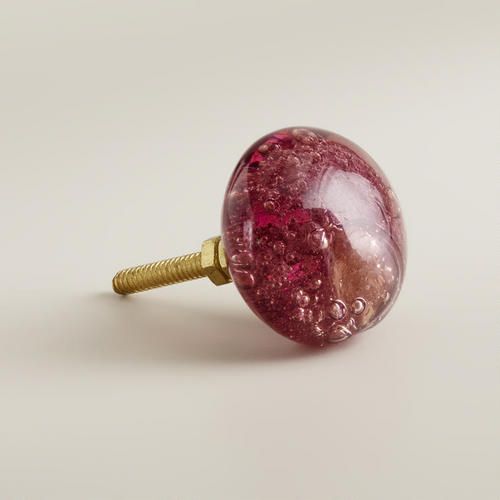
here is the door knob they will go on , she said the color is a bit different from the picture, but just lovely no matter what !!
So, we have two more purple dangle sets to do and I am excited to see how they each come out !! We still have another purple project after that last tassel is done and then we are done with her bedroom and move on to her bathroom and we get to work in gorgeous blues !!
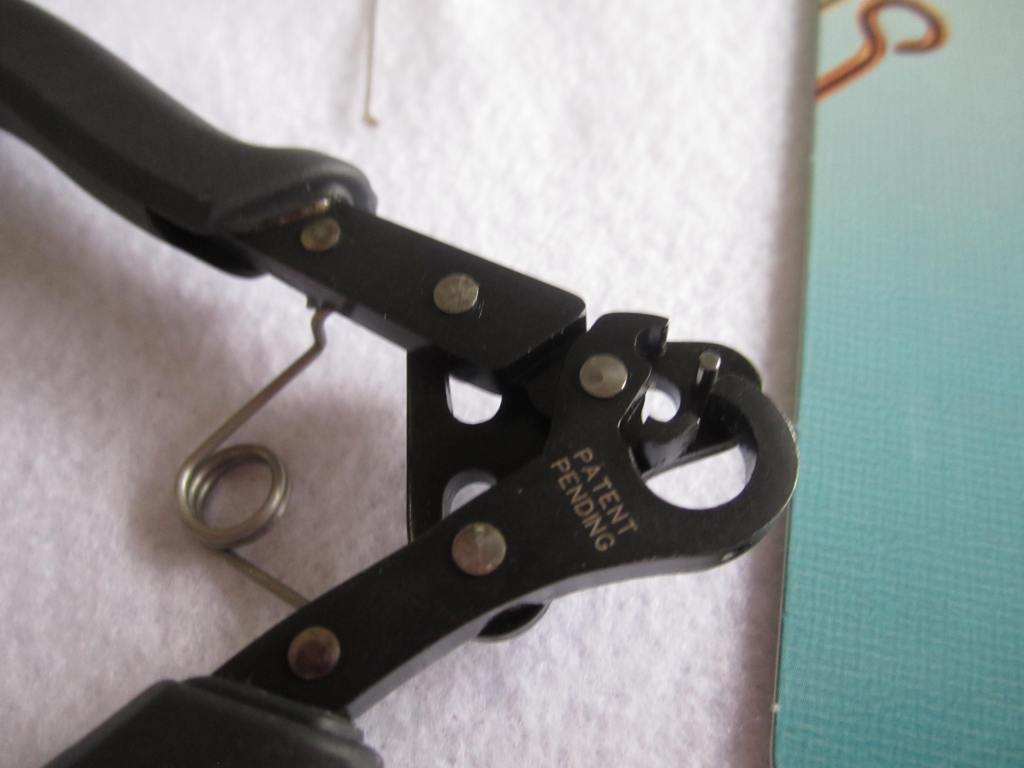
So, on to my tools !!
I went to buy some more beads for this project and needed some wire cutters as mine were 24 years old and it was horrible trying to use them and I wanted an addtional needle nose plyier.
My wonderful husband came up to me with this tool and asked if I wanted it !! It was 32 bucks but we had a 40 percent off coupon each. So, I said yes, lets get it !!
I LOVE this tool !!
Here it is !!

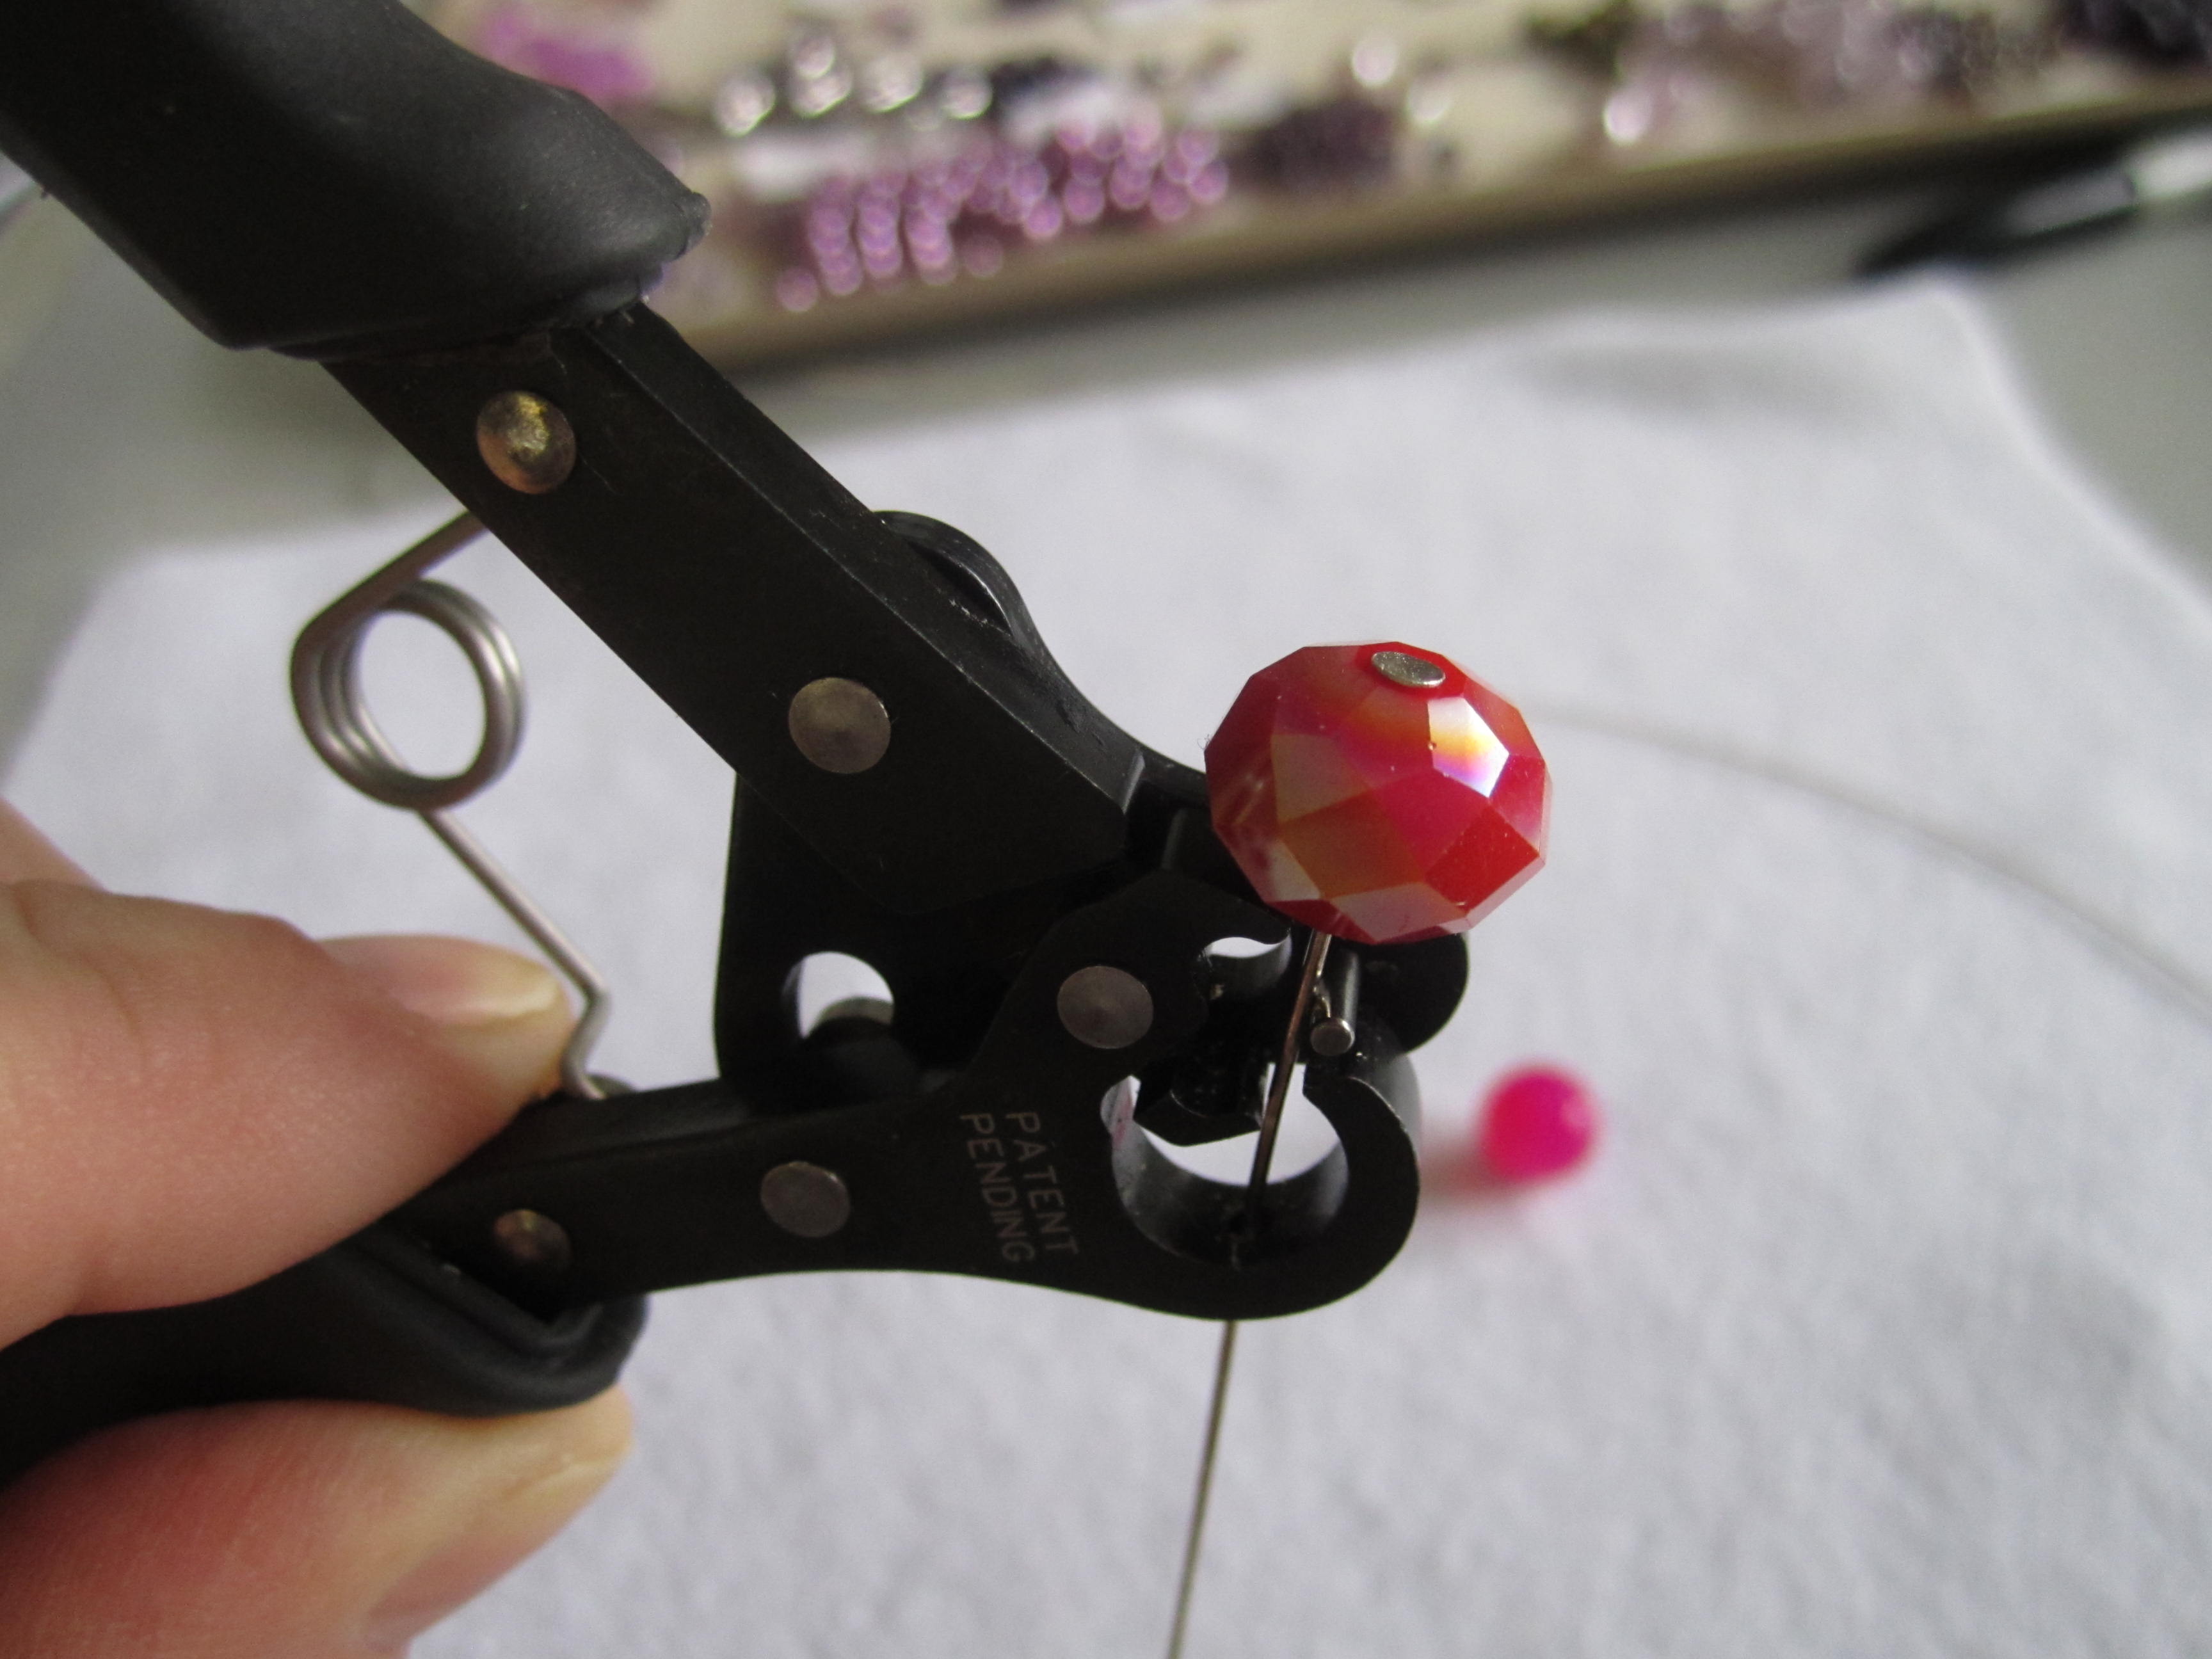
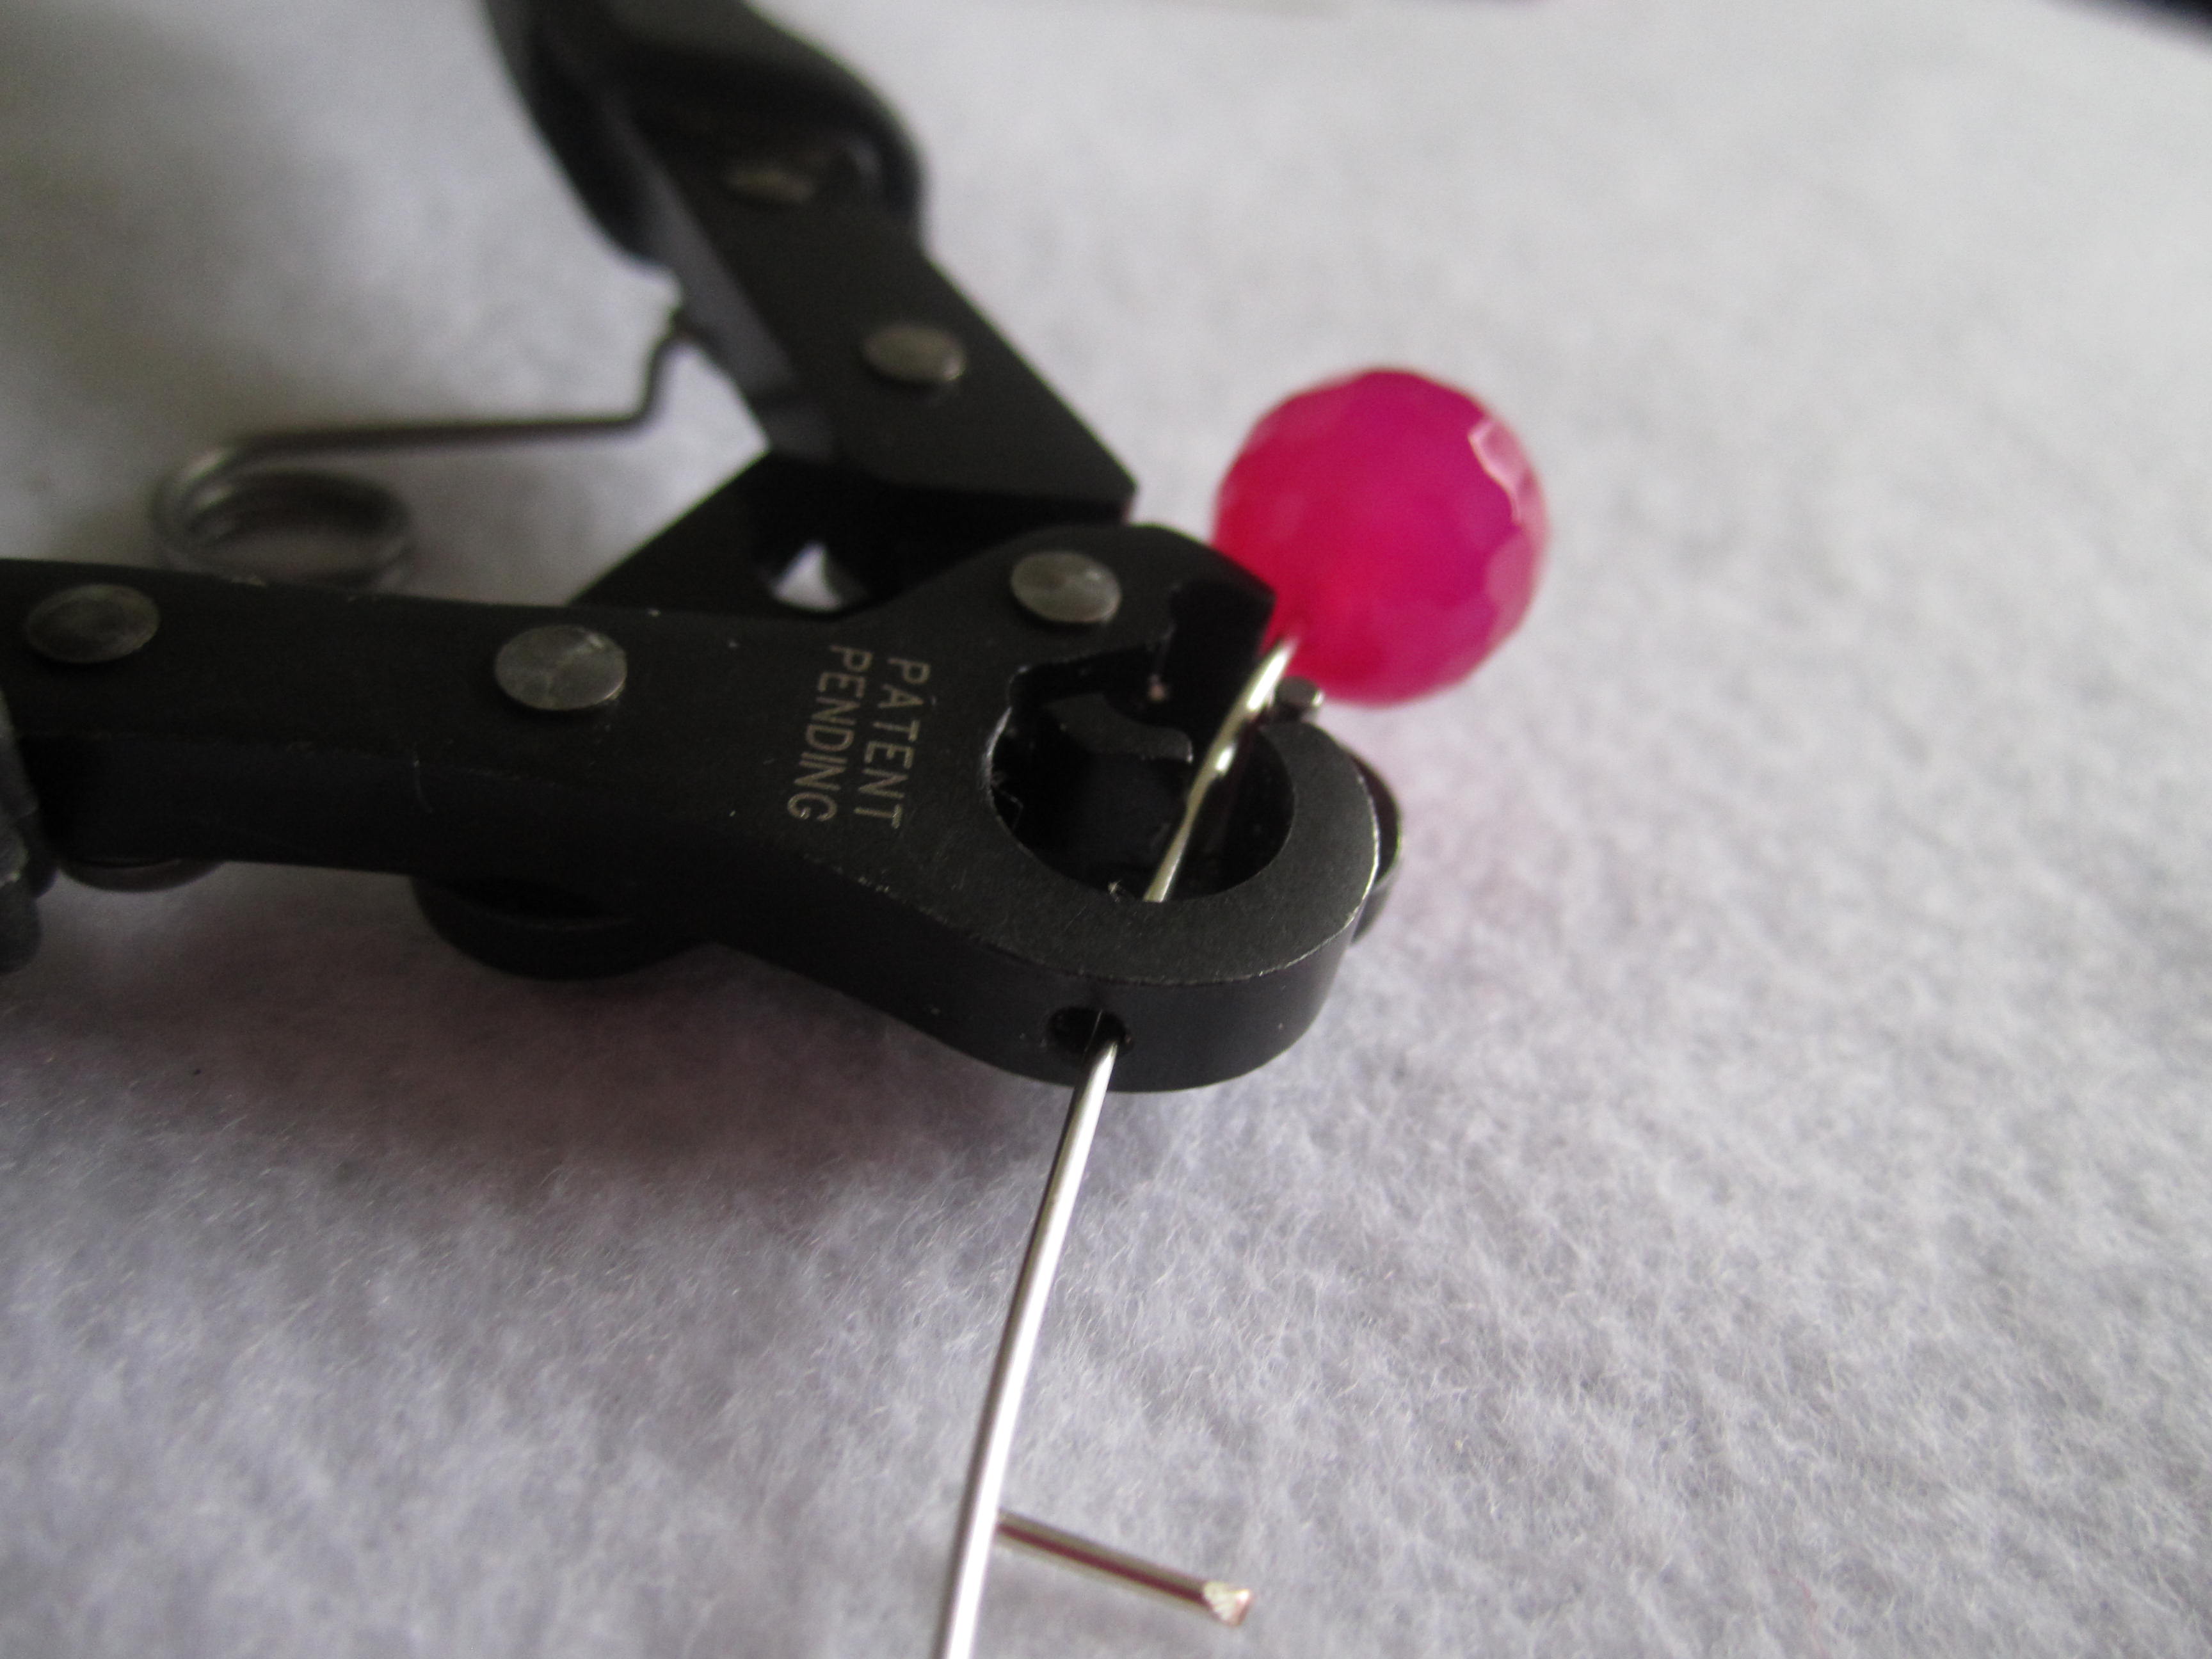
Here is what it can do , I have a head pin and a piece of unfinished wire

first the head pin, I placed a bead on, and put the wire through the tool

THey usually come out better than this next one, but it is hard to use the tool and take pictures at the same time !!

I got out my favorate looping tool, that also makes amazing loops, they are hard to find, I have a vintage one I used for 20 odd years, so when I found them online, I bought two , lol !!! I have never seen these in a store !! One side flat, one side round. I LOVE this tool too !!


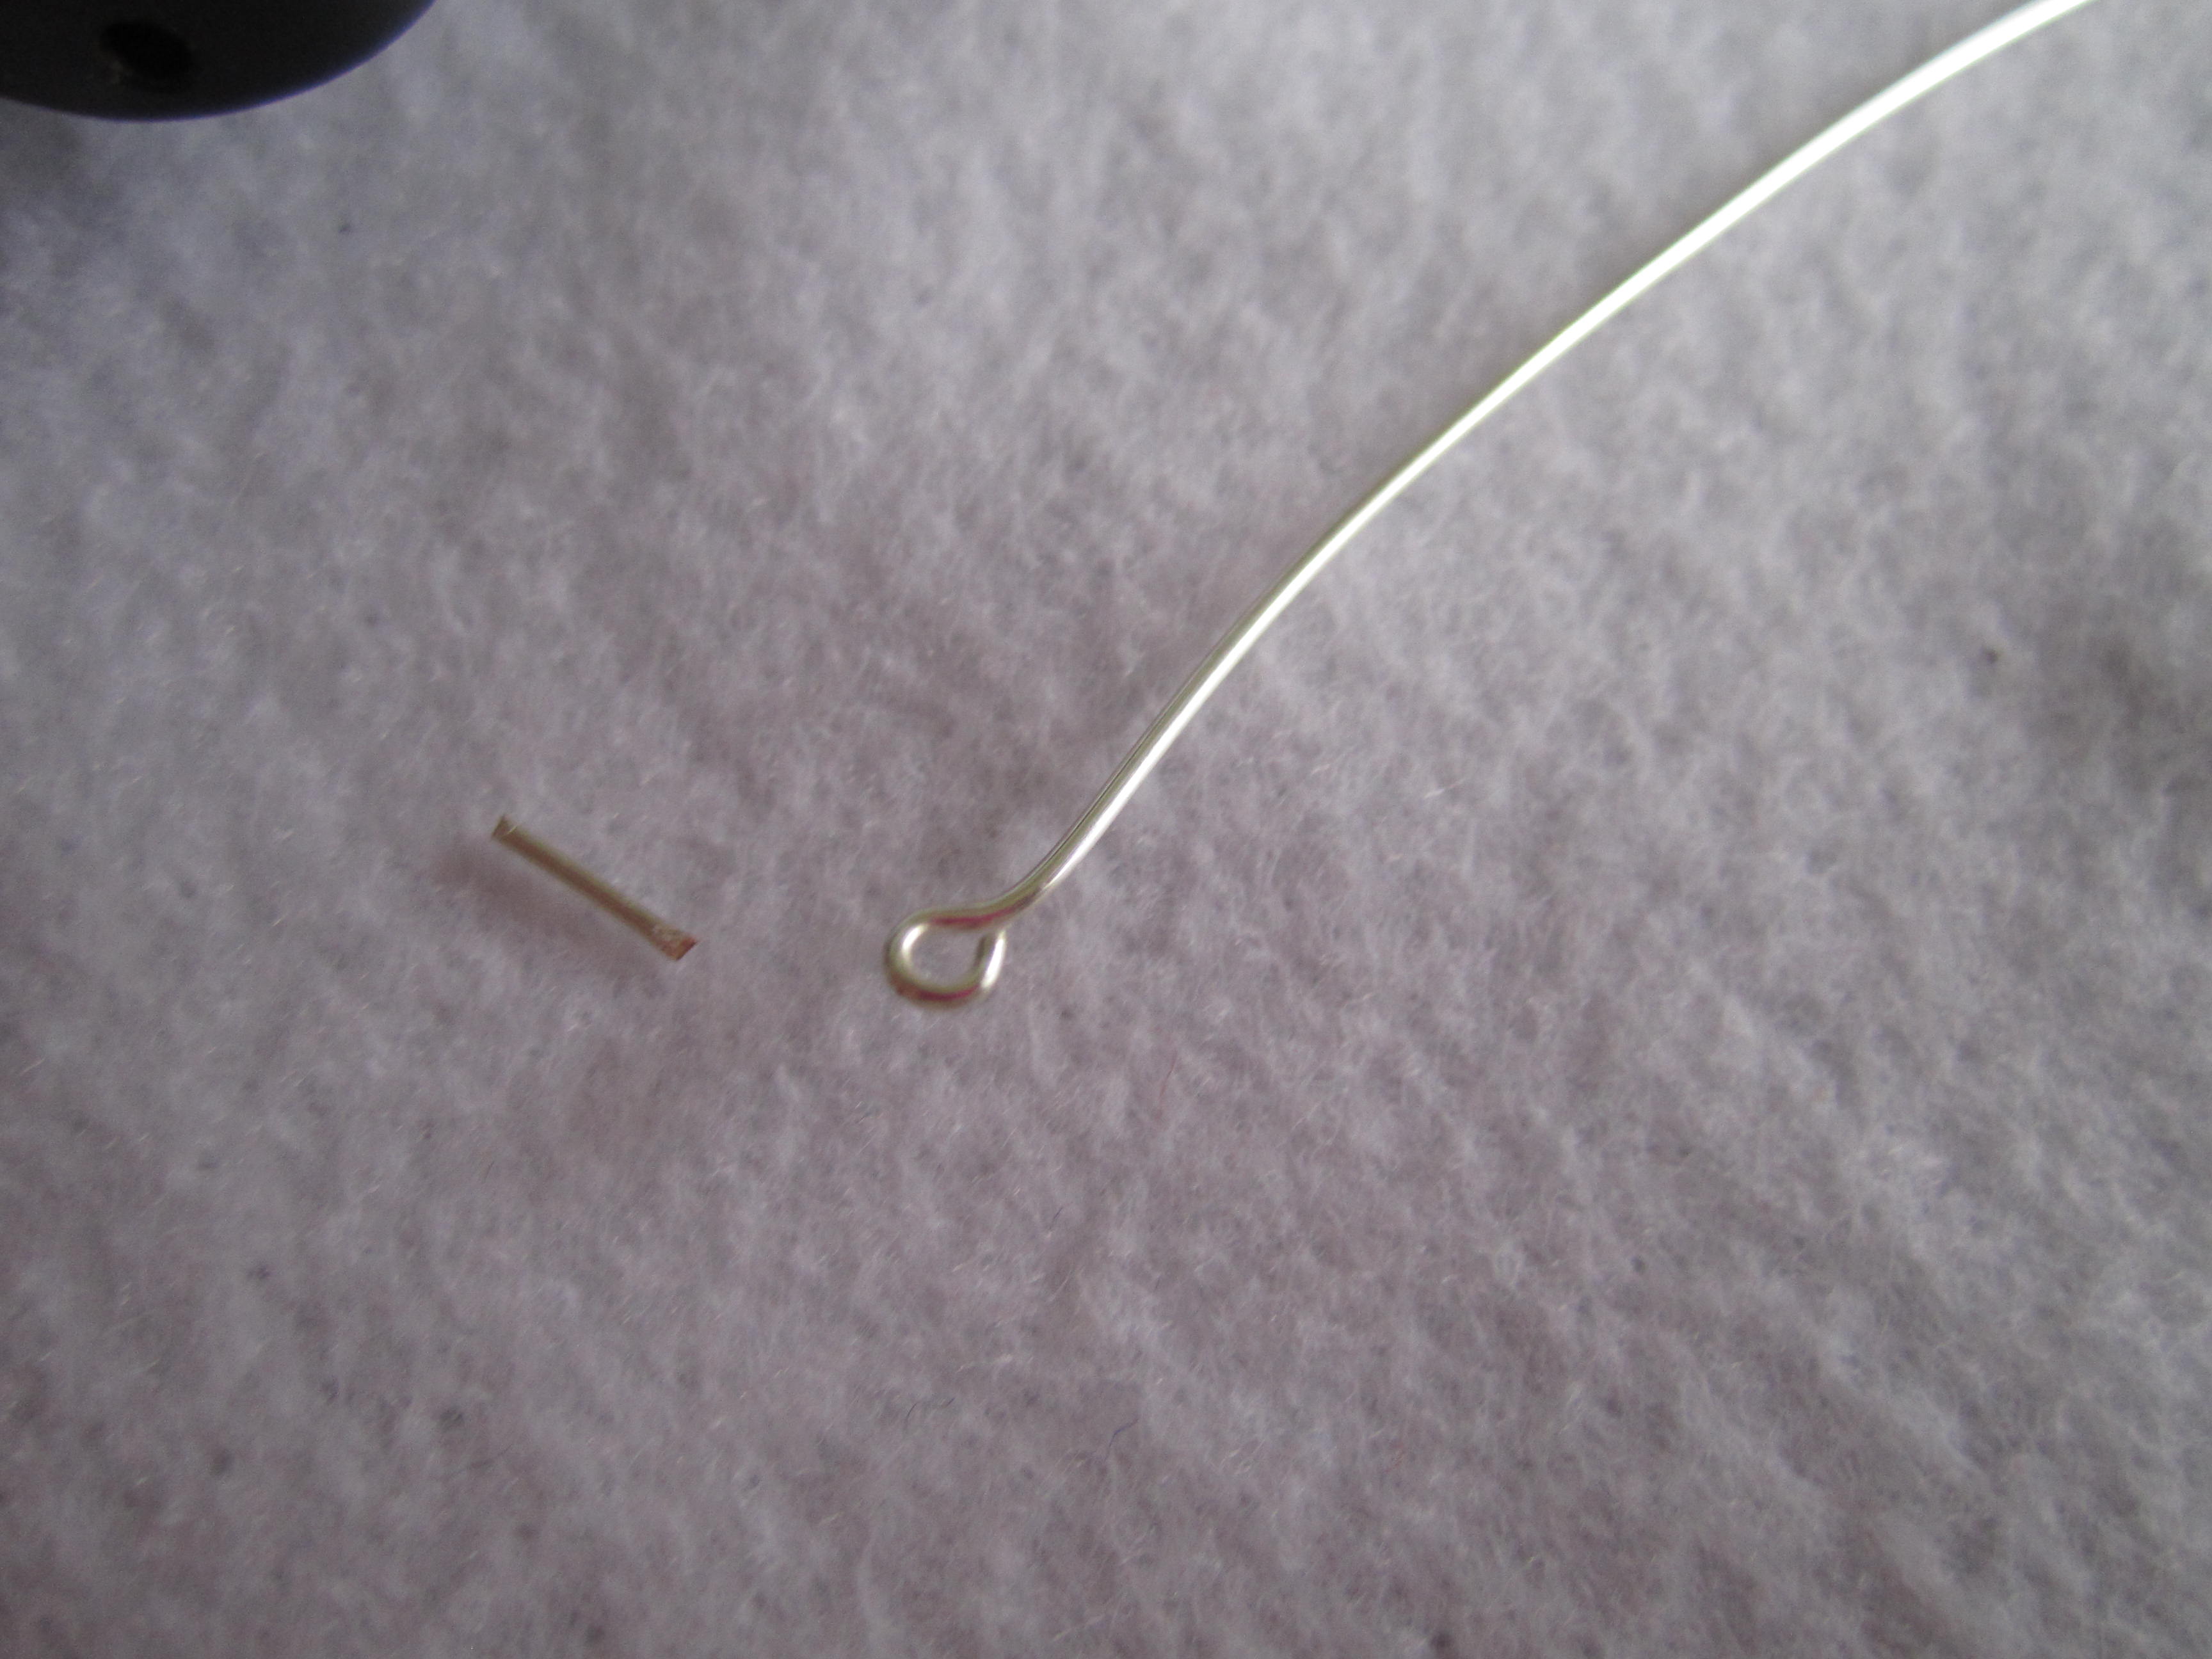
Now for the unfinished wire
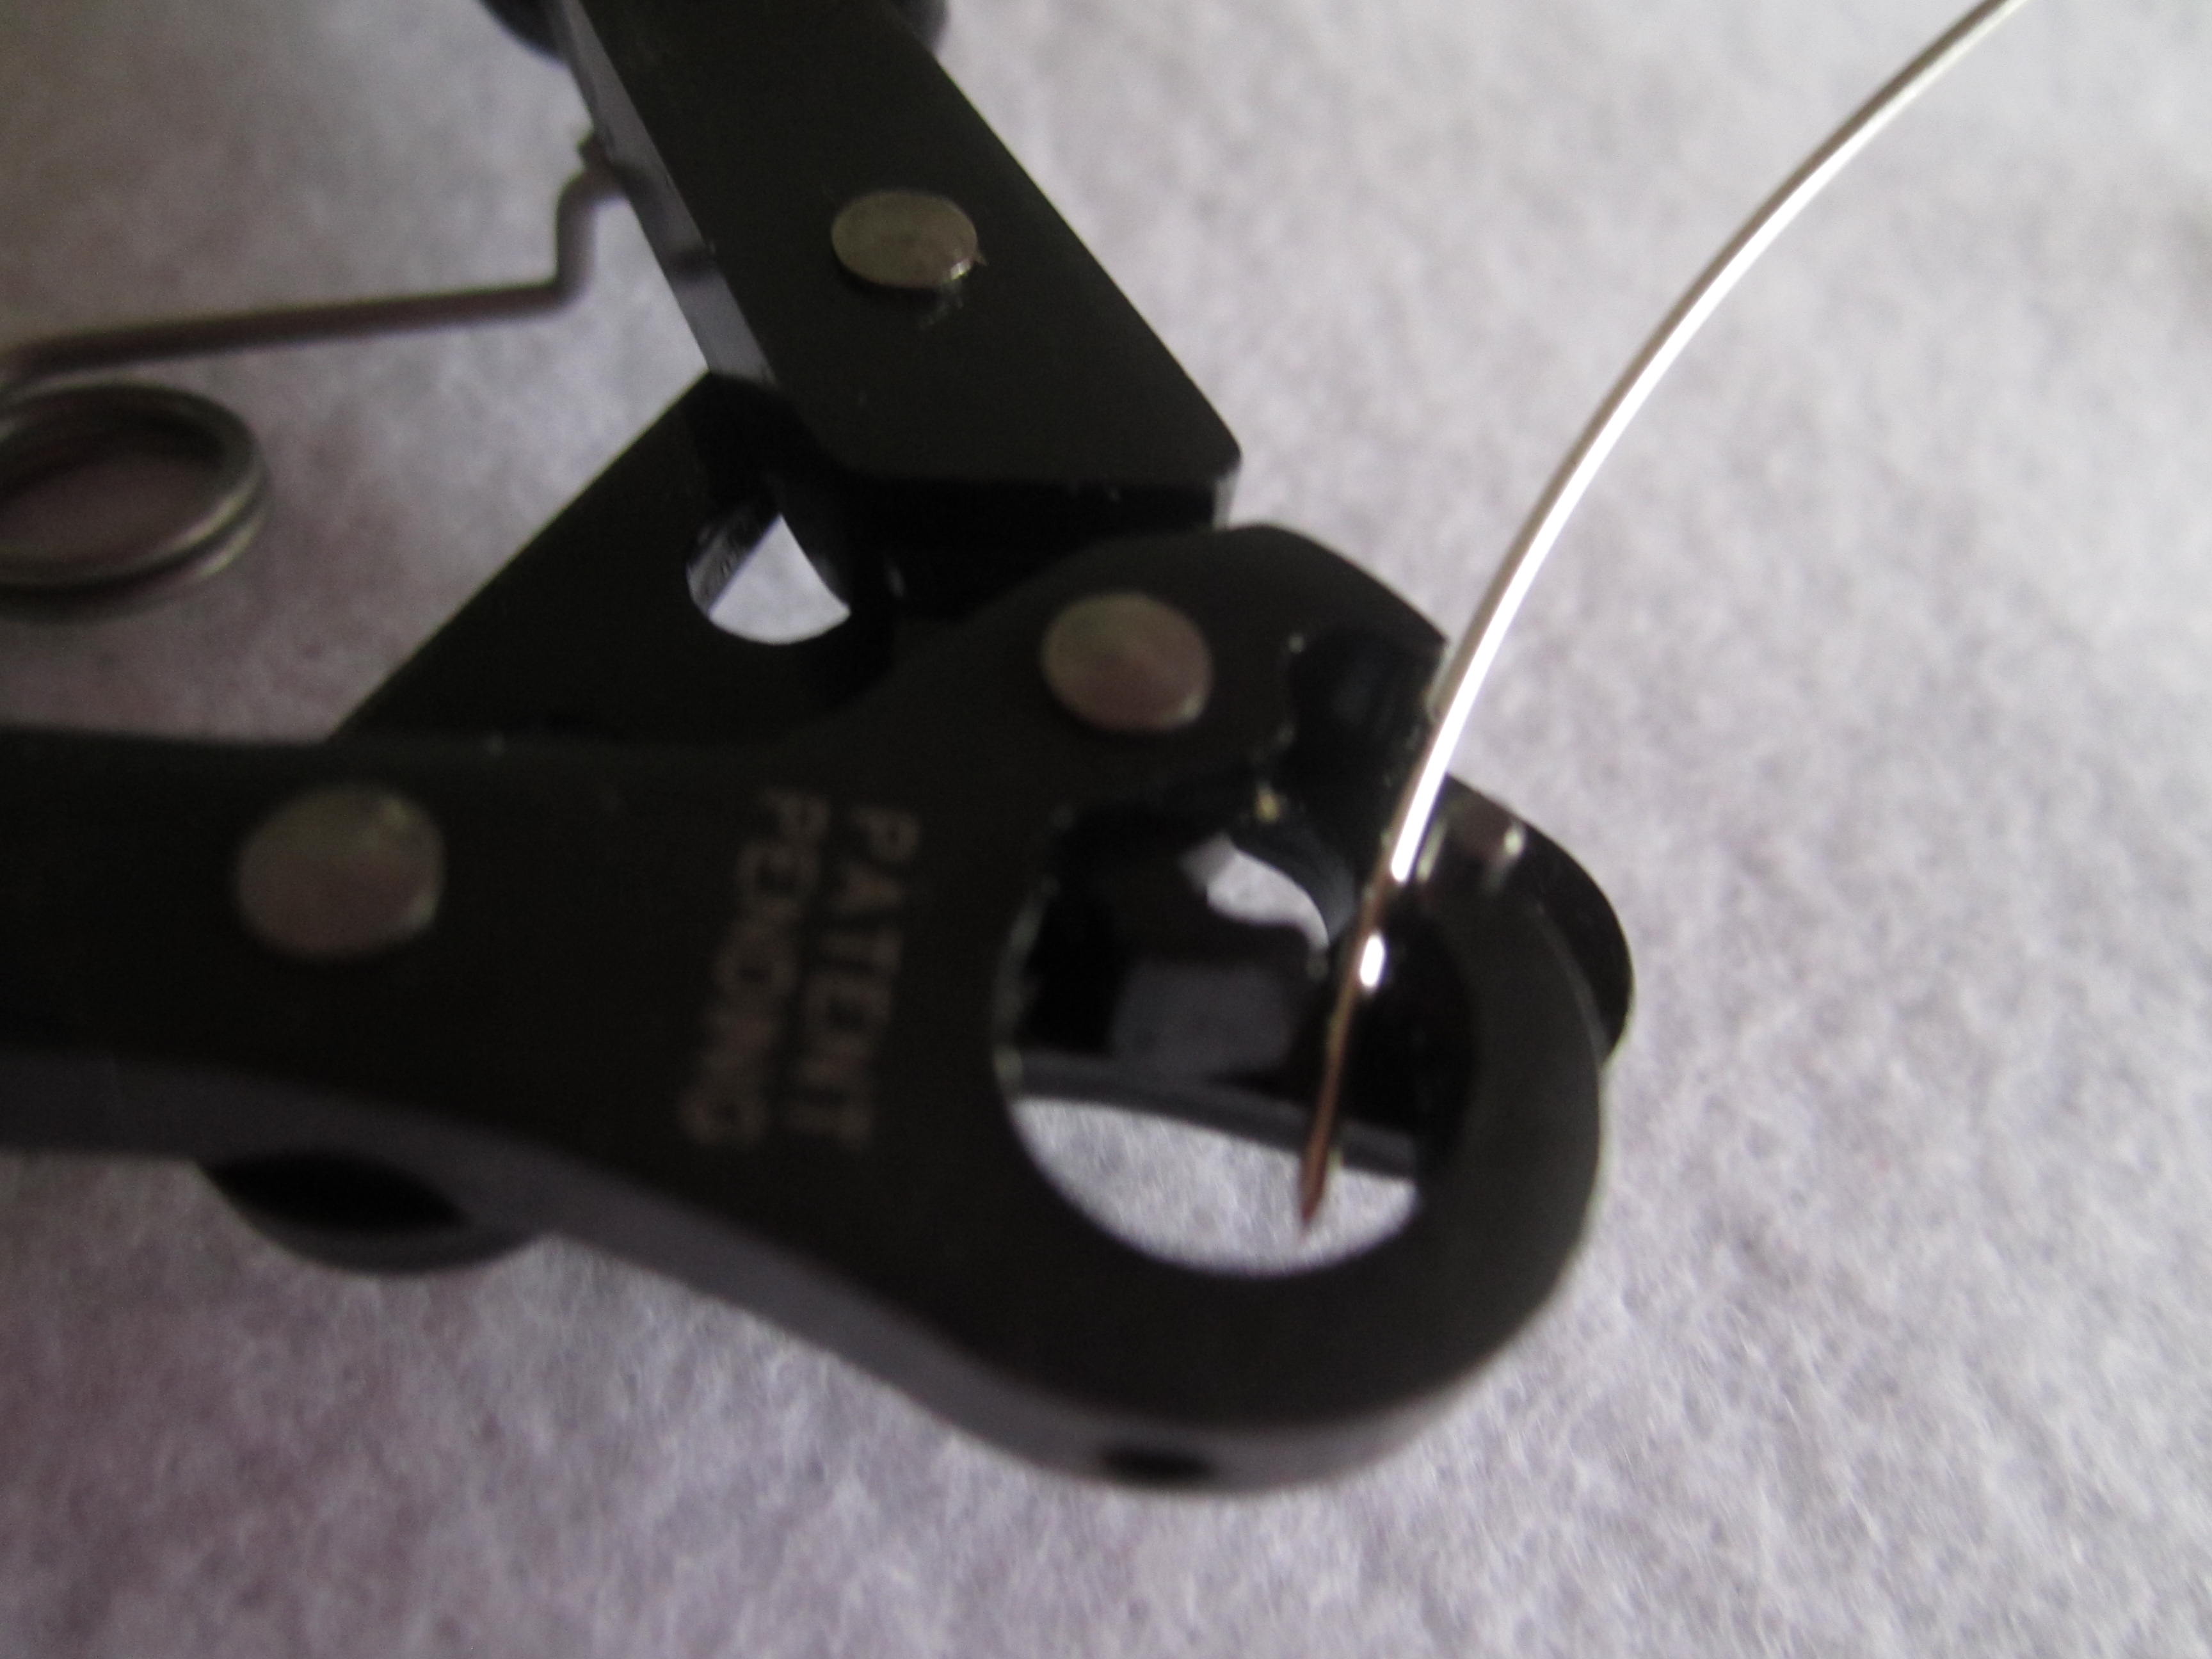
It cuts it and rolls it up into the loop !! You can see this one is much better and how they usually come out !!
the fact it looped was great, being able to close a loop with a bead on the wire, that makes this tool amazing !!


A great tool and one I used a lot already !! Sure made this project easy !!!

I used my looper tool, the one I used to make the loops with, just to close it and round it out a bit more and my pliers to hold it tight and maybe on some to close the loops a bit more. But the new tool does most of it and keeps the loops more uniform !!
This is a great tool and one I highly recommend for anyone who loops a lot of wire for jewelry !! You will love it !!
Now I am off to set up my bead trays for our next beautiful tassel , I will share when I am done.
I also have 7 grandkids today, soon to be eight when our oldest grandaughters best friend joins us for the afternoon !! A busy day for sure !!
Thanks for stopping by !!
Stephie

Leave a reply to stephiesbeadsandbaubles.com Cancel reply